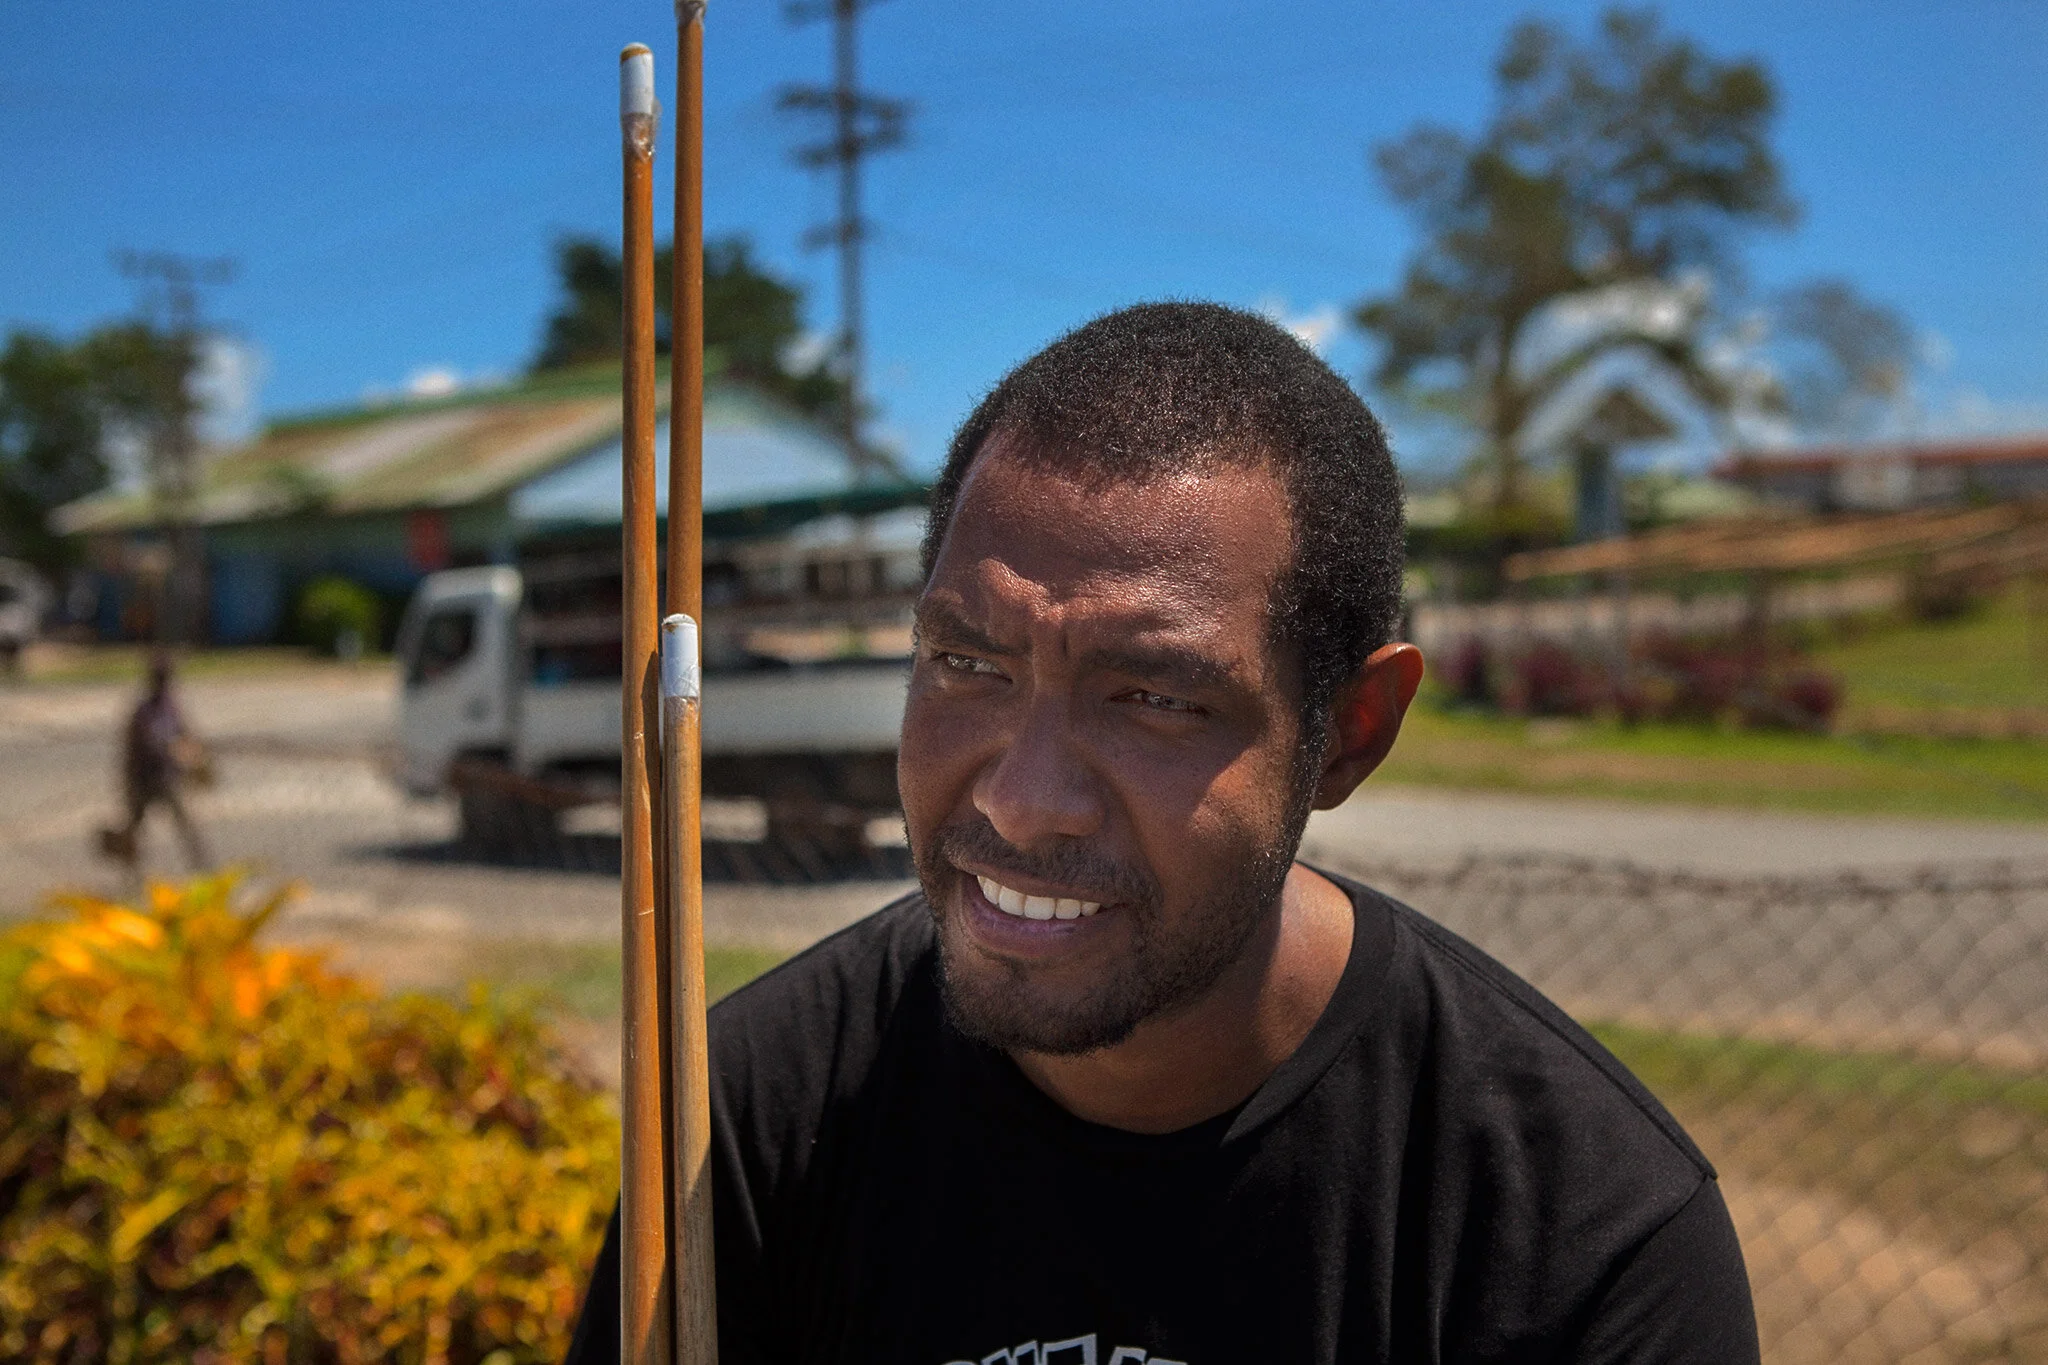
Here is a recent edit of my portrait of Keith during the SP Lager Campaign over in PNG. I edited this image using my photoshop abilities to create a natural portrait given the extreme dynamic range of the original image.
IMAGE SPECIFIC INFORMATION:
Camera - 5dmk2 with a Canon F2.8 24-70 Lens
Exposure - F4 @ 1/500second 200ISO
WORKFLOW:
• Create an appropriate balance of tonal ranges, fix the blown highlight detail and open up the shadow information.
• Used my apply image method to open or dodge Keith's face. I was able to subtly mask this onto his face and open up the shadow information. The next stage was use another apply image method to multiply the highlights and re-introduce the original sky and colour to the blown highlight detail.
• I repeated the dodge apply image method twice to create a soft transition still on Keith's face.
• Another multiply apply image layer was used to purely limit and reduce all of the highlight detail. The layer was limited to the highlights only by Blend If.
• The layer stack was then stamp merged visible using the shortcut (Command/Ctrl + Option/Alt + Shift + E) and I applied a level of midtone contrast of Clarity +100. This was then targeted to only the highlights.
• Finally an auto levels adjustment was used to bring up the exposure of the image, it was sharpened using the Facebook Powertools and appropriate noise was added to the image.
Before / After


