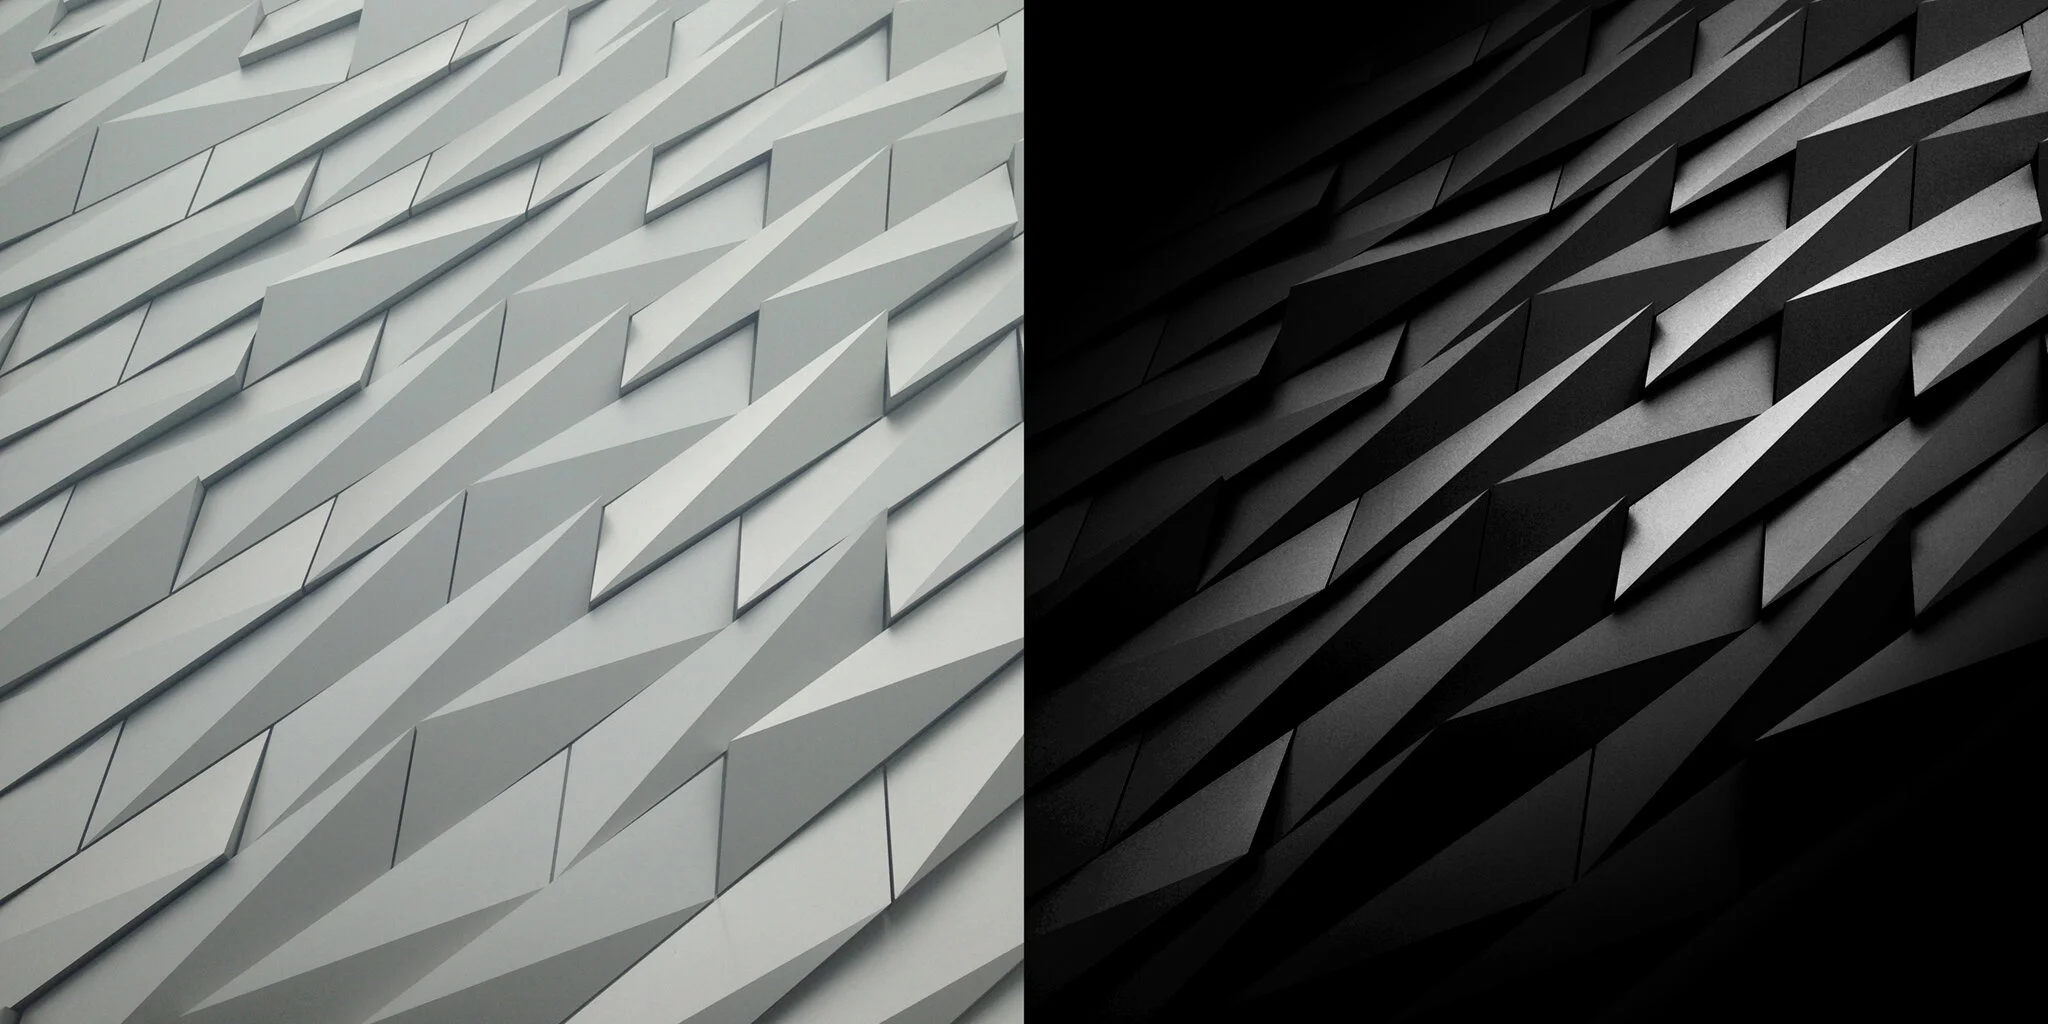
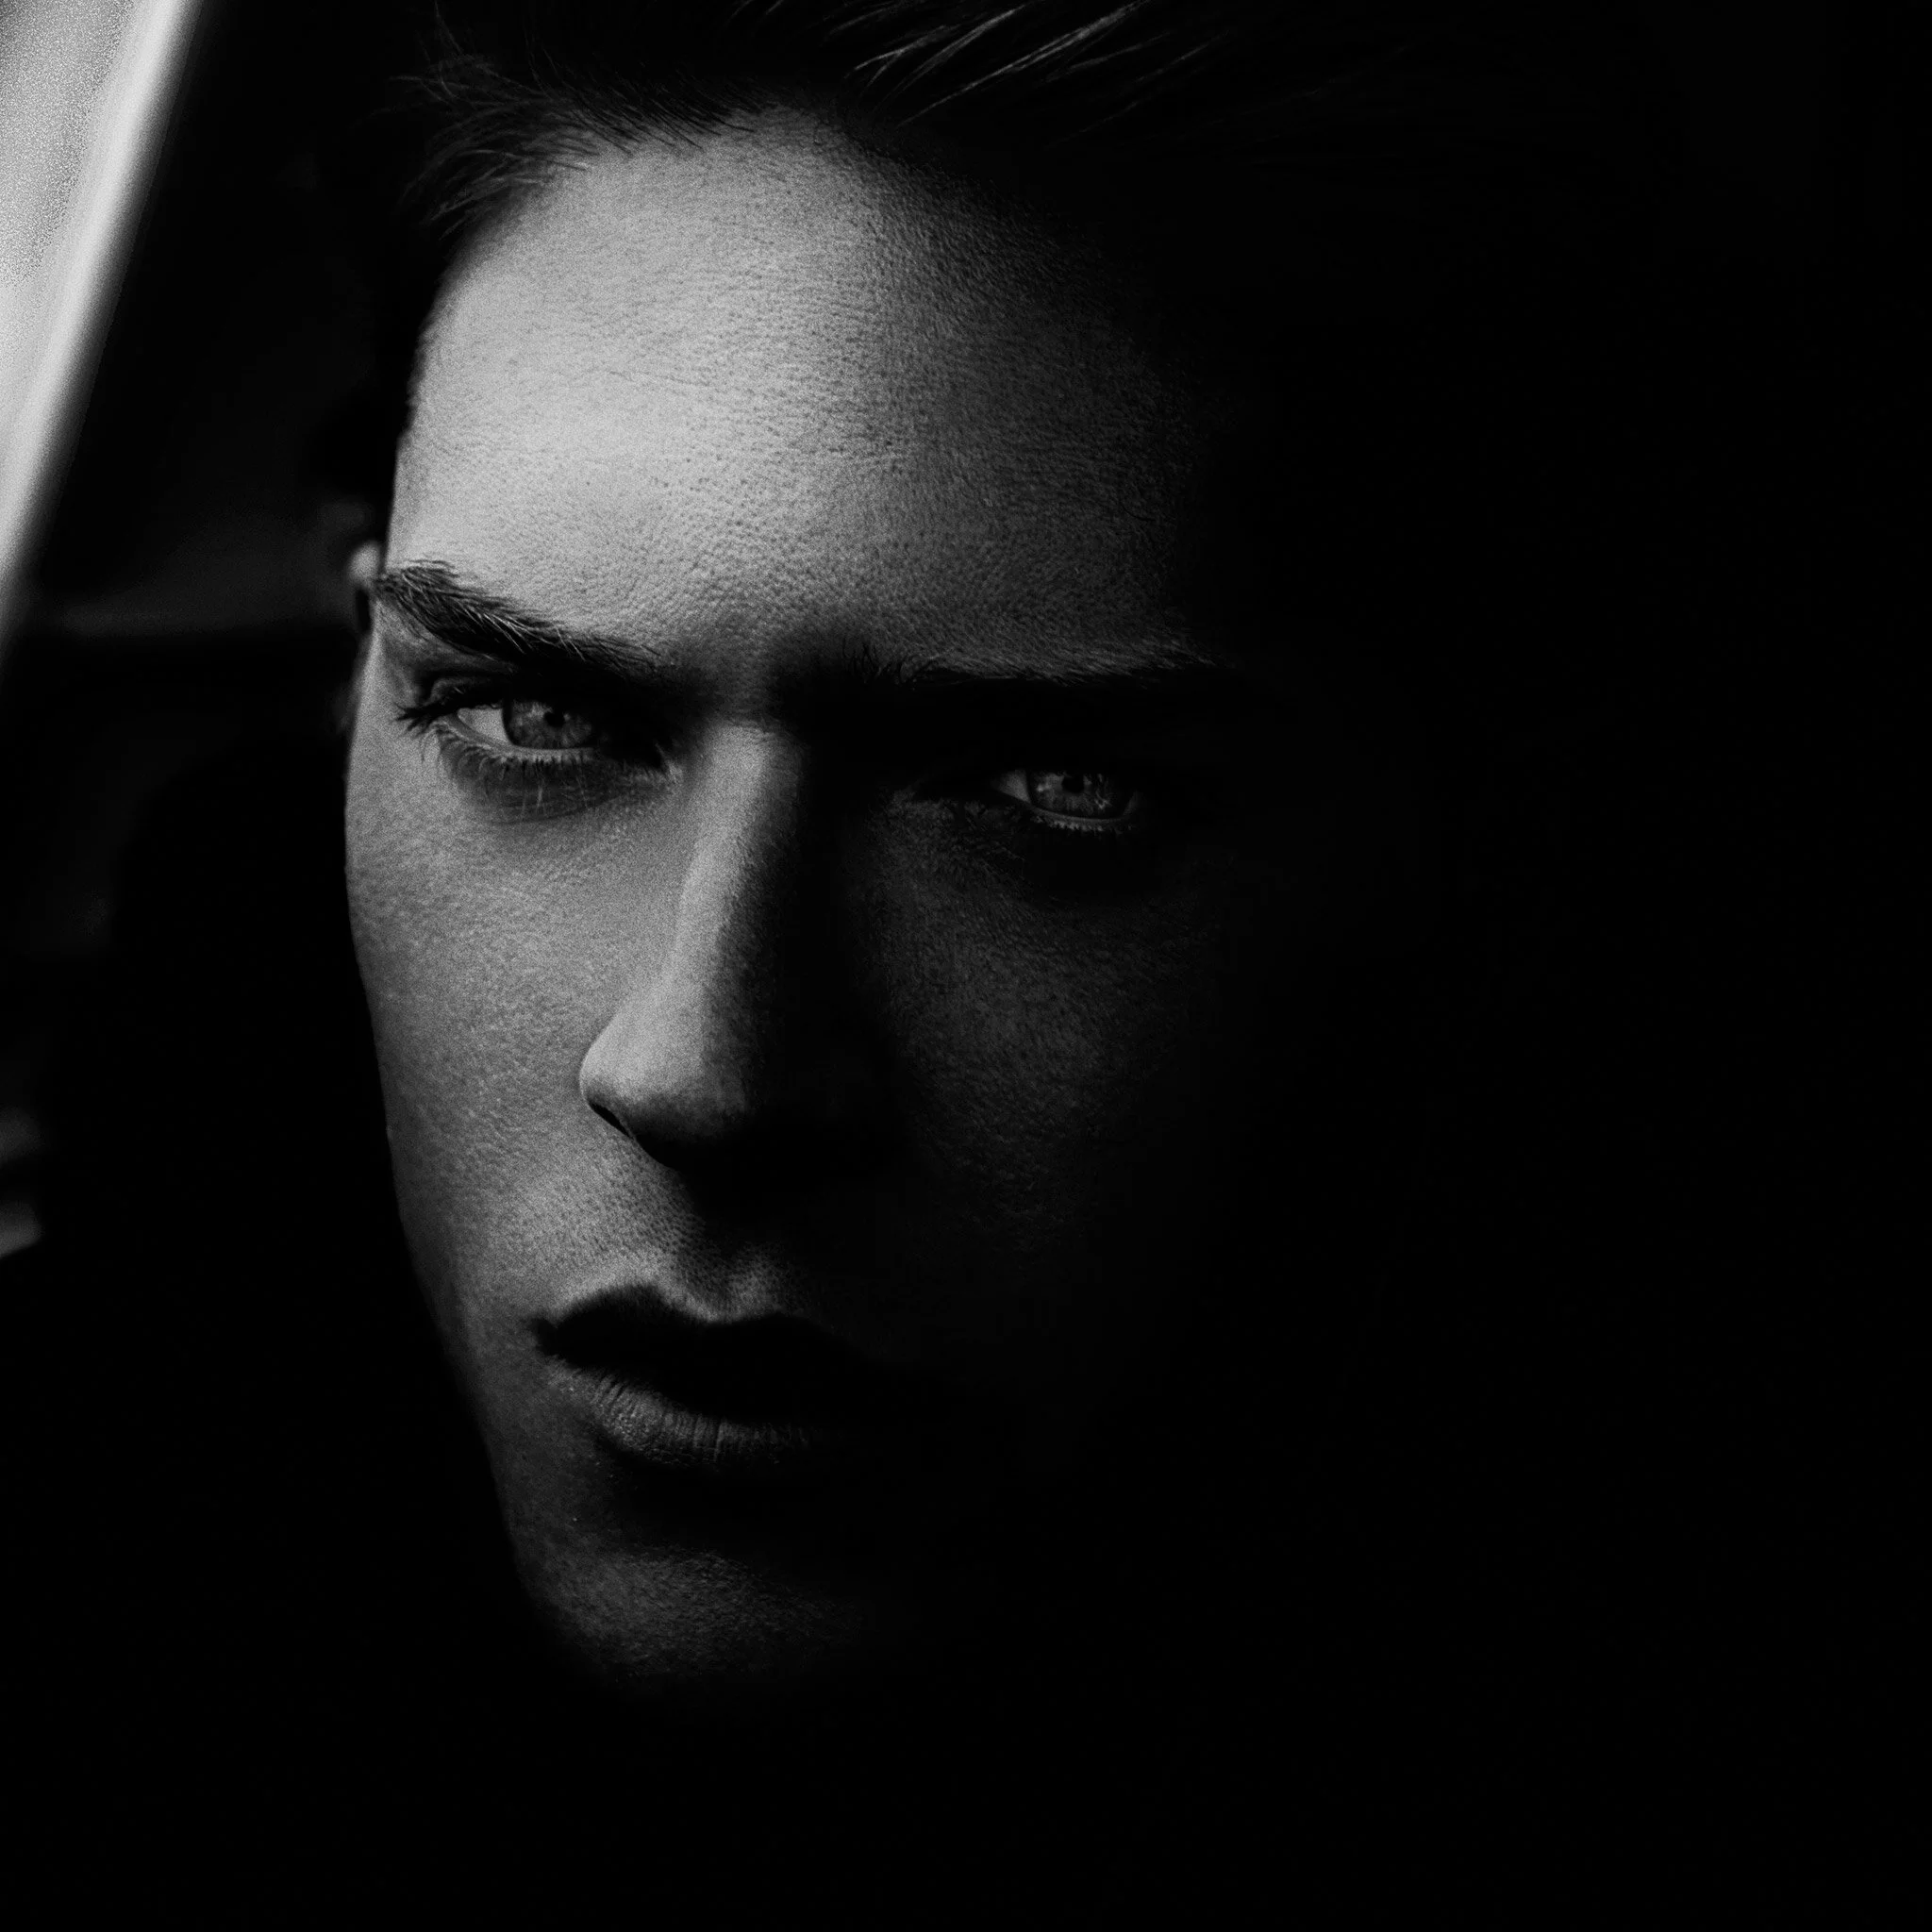
The differences between Brightness vs Luminosity inside Photoshop

If you are struggling with the concept of how Brightness and Luminosity affect colour check out the video above.

My good friend Conny Walstrom talks about the differences between Brightness and Luminosity within Photoshop.

He covers a few modules of how Photoshop Handles colour inside HSB (Hue, Saturation, Brightness), HSV (Hue, Saturation, Vibrance), HSL (Hue, Saturation, Luminosity), Grayscale, Luminosity and Perceived Brightness.

In praise of Shadows – Junichiro Tanizaki Quote

"Darkness causes us no discontent, we resign ourselves to it as inevitable. If light is scarce then light is scarce; we will immerse ourselves in the darkness and there discover its own particular beauty. But the progressive Westerner is set upon always to better his lot. From candle to oil lamps, from oil lamps to gaslight, and on to the electrical one. His quest for better light never ends, he spares no pains to eradicate even the slightest of shadows"

- Junichiro Tanizaki, In Praise of Shadows (1933)

The Creation of the Photographic Idea (Part 2)

The Creation of the Photographic Idea (Part 2)

Following my recent post of Food for thought - The Creation of the Photographic Idea (Part 1), Halsman also outlined a series of stimulation's a photographer can put to use and help generate creative ideas for any specific photographic project.

1. Stimulation by Brainstorming

It is simply the method of Brainstorming; either individually or collectively within a group of your peers. You can easily discuss or be open to discuss possible ideas or generate new outcomes from that original idea. You may find that it is easier to Mind Map your ideas.

2. Stimulation by Memory

Halsman states "the roots of most of our ideas draw from the great reservoir of our memory". That being said when we read; watch movies; listen to music we enrich our possibilities as artists and humans. However when we try and put our own memory to use we often can't avoid imitation. There are two types of imitation. (1) When imitation means solely copying someone else's work (it is wrong and becomes worthless) and (2) when it creates stimulation which can help develop something that exists and adds elements of the 'something new'. As long as the person adds his or her own values and beliefs it then becomes part of the creative process.

3. Stimulation by Knowledge

In step (2) of how memory can trigger our imagination, our mind can contain different information of knowledge. It can reference to previous outcomes and potential create possible predictions of known effects. This could be simply as reading the scene in front of you and how you tackle the problem, use your own photographic knowledge to help stimulate and create your "vision".

4. Stimulation by an Object

As photographers we often see and view more then most people. We are constantly on the lookout for something interesting however these objects not only make photographs more intereesting but can also stimulate our creative ideas to produce something highly unusual. If you have such an object...give some actual thought to it.

5. Stimulation by the Photograph itself

It is quite common that the frequent source of most inspiration is from the creation of the final photograph. Most of the time we comment only when we actually view the finished file or image noting that 'I should of done it this way'. The obvious advice for this point is to look for stimulation before it is too late. Visualise the image in all its details, you may not have all of them yet but work out what you want to achieve and the considerations for this. It often creates something new and or different.

6 Self-stimulation.

"The path of the impulse is directed by associations". The more logical our thinking, the more patterns in terms of our associations become established means or solutions. These often become more and more predictable and less natural. When we aren't typically faced with the problem at hand we often leave it be. Whereas if we are constantly faced with the problem we are constantly stimulating...the what, the why, the how.

The Creation of the Photographic Idea (Part 1)

I recently received a copy of Philippe Halsman's (1961) book on The Creation of the Photographic IdeaHe maintains that there is a immense difference between "making" a photograph and "taking" a photograph and I couldn't agree with him more. In the book he created a series of rules which can be seen as tools of all photographic art. These are helped to create a photograph into a striking and unusual image by the following:

1. The Rule of the Direct Approach

One main thing that Halsman mentions is to be as straightforward and as plain with your imagery as possible. This can often make a strong photograph. often to many people are overwhelmed with the notion of "what to photograph?", when it could be a clearly obvious solution. It is simply to make an ordinary and uninteresting subject appear interesting and unusual.

2. The Rule of the Unusual Technique

This rule is quite simple and often evident. Typically the subject is often ordinary and uninteresting however our aim as photographers is to make our subject interesting and create an unusual picture. We are free to do anything we want to do without the photographic technique:

  • Unusual lighting: how do you light your subject? Is it complex lighting setup? is it one or more lights? could it simply be no lights? at dusk/dawn/outside/inside?

  • Unusual angles: both the angle of the camera vs the angles of the models or subjects

  • Unusual exposure: how long is the duration? what does this do to the image?

  • We can simply move our camera

  • We can use different filters or shoot through different objects on our lens

  • We can use different lenses to achieve different results

  • We can shoot our subjects on unusual backgrounds or materials

  • We can distort our subject and picture

  • We can use different and unusual composition

  • We choose to continue our techniques by our post production; what do we want to create?

  • We use our creativity and our imagination

  • Even when we are finished we choose and insist on how we produce the content; how is it laid out.

3. The Rule of the Added Unusual Feature

The photographer to capture the audiences attention by drawing attention to something unexpected by introducing an unusual feature or prop into the photograph.

4. The Rule of the Missing Feature

Stimulates the view by going against his or her expectations.

5. The Rule of Compounded Features

Sometimes you find a particular idea which is often highly individual, however you realise that it is quite week to make it significantly unusual...This rule of the compound feature is to simply not disregard the original idea but to simply combine other rules and add to the originality to the work. By combining one or more ideas, by developing and compounding...it can typically create a staisfying result.

6. The Rule of the Literal of the Ideographic Method.

Often photographers are presented to visually illustrate their own ideas. Typically invent or create a new thought about a particular subject or object. This rule advices to translate the literral work into images, this doesn't have to be the simply words but rather the idea of the statement which is expressed visually.

Photoshop 101: My Custom Photoshop Preferences

Below is a series of my own preferences which you can easily customise how Photoshop can work for you.

GENERAL SETTINGS

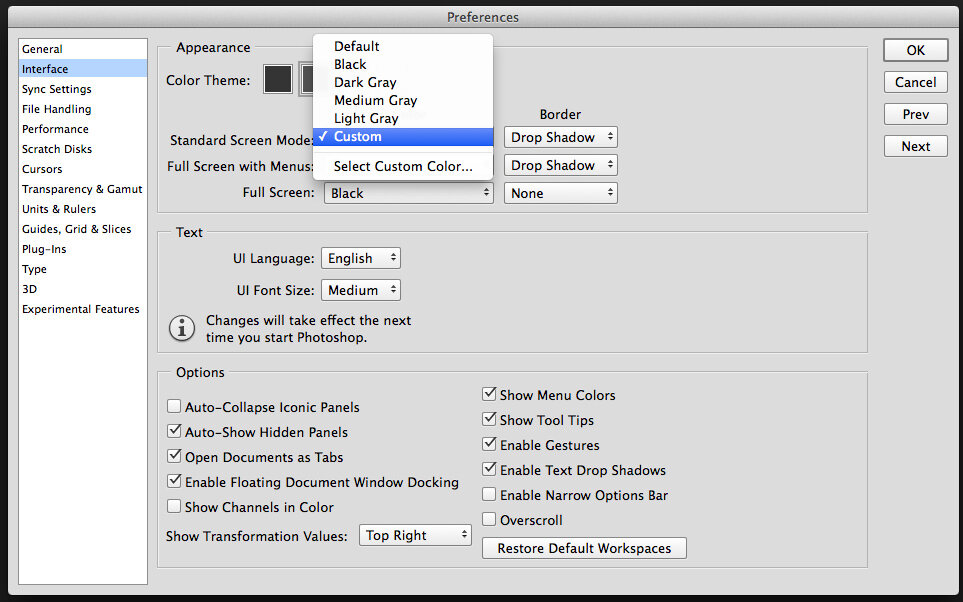
To access your photoshop settings, simply press Command/ctrl + K to bring up the Preferences dialogue box.

Interface:

I have set my Standard Screen Mode to a Custom Colour of White (252, 252, 252)

I have set my Standard Screen Mode to a Custom Colour of Grey (128, 128, 128)

File Handling:

I typically have "Disable Compression of PSD and PSB Files" Checked; however It creates a bigger file yet saves 1/3rd faster then normal.

Performance:

Cursors:

My brush settings are set to 'Normal Brush Tip' with the option of showing the Crosshair whilst brushing. All the other cursors (mainly the pen tool) is set to precise.

Palettes Layout:

Curves Options:

I typically have my curves display options set to pigment/ink % so that I can work in percentages rather then light values.

Levels Settings:

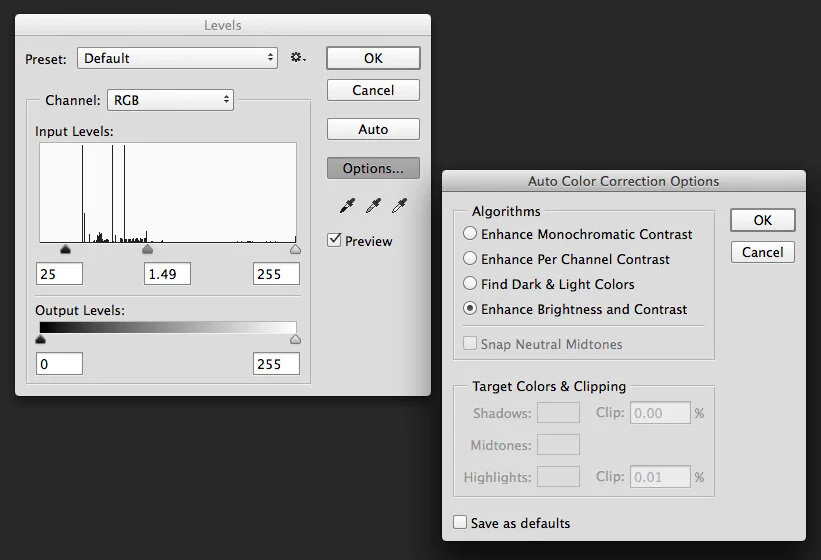
I have my levels display options enabled to Enhance Monochromatic Contrast so that It clips the channels independently preserving the colour of the image. I have set the Shadow clipping point to 0, so that it keeps as much of the shadow detail as possible within the adjustment of "Auto Levels"

Photoshop 101: How to create a simple grunge effect in Photoshop

Below is a series of steps to follow of how you can create a simple way of creating a grunge effect within Photoshop.

1. Create a duplicate of your background or a copy of a merged layer (command/ctrl + shift + option/alt + e).

2. Create a solid colour fill layer above the merged copy/duplicate layer. Set this layer to Colour

3. Merge both the Solid Colour Fill layer and the Duplicate Copy together.

4. Select either Normal/Multiply/Screen/Overlay/Softlight for your chosen grunge effect.

Note: If you don't want the hassle of creating the adjustment yourself, click the download link below.

SCREENSHOTS OF THE STEPS

Step 1.


Step 2.


Step 3.


Step 4.


Step 5.


Step 6.


Step 7.


Step 8.


Step 9.


Step 10.


WHAT IS INCLUDED IN THE FREE ACTION SET?

Bleach - A bleach by-pass effect with channels
Grunge [with Multiply] - 
A muted grunge effect which darkens the image.
Grunge [with Screen] A muted grunge effect which lightens the image.
Grunge [with Overlay] A muted grunge effect which adds contrast to the image


HOW DO I INSTALL THE ACTION INTO PHOTOSHOP?

Method #1
1. Open your downloaded folder or file and navigate to the actions file. It will end in the .atn file extension.
2. Double-click the .atn file and then open Photoshop.
3. Now the set of Photoshop actions should show up in the actions panel and should be ready to use.
To access the actions panel, simply go the top bar in Photoshop and click Window > Actions. The panel should then appear somewhere within Photoshop.

*Remember to 'Enable Button Mode' (simply navigate to the drop-down menu within the Actions Panel) so that each of the actions are instantaneous*

Method # 2
1. Start this method by opening Photoshop and navigating to the drop-down menu in the Actions Panel.
2. Next click the load actions link that is highlighted in the image above.
3.Clicking the load actions button will open your folders.
4. From there navigate to the downloaded folder with the specific Photoshop actions file you have downloaded.
5. Now select the file and click Open.
6. After all this your Photoshop actions will be visible in the Actions Panel and you are ready to start using them!

Enjoy!

Photoshop 101: Free Vintage Tones Action

A simple vintage tones action using levels adjustment layers.

HOW DO I INSTALL THE ACTION INTO PHOTOSHOP?

Method #1
1. Open your downloaded folder or file and navigate to the actions file. It will end in the .atn file extension.
2. Double-click the .atn file and then open Photoshop.
3. Now the set of Photoshop actions should show up in the actions panel and should be ready to use.
To access the actions panel, simply go the top bar in Photoshop and click Window > Actions. The panel should then appear somewhere within Photoshop.

*Remember to 'Enable Button Mode' (simply navigate to the drop-down menu within the Actions Panel) so that each of the actions are instantaneous*

Method # 2
1. Start this method by opening Photoshop and navigating to the drop-down menu in the Actions Panel.
2. Next click the load actions link that is highlighted in the image above.
3.Clicking the load actions button will open your folders.
4. From there navigate to the downloaded folder with the specific Photoshop actions file you have downloaded.
5. Now select the file and click Open.
6. After all this your Photoshop actions will be visible in the Actions Panel and you are ready to start using them!

EXAMPLES OF THE VINTAGE TONES:

Original Image Example

Original Image Example

Vintage Action 1

Vintage Action 1

Vintage Action 2

Vintage Action 2

Vintage Action 3

Vintage Action 3

Vintage Action 4

Vintage Action 4

BTS VIDEO of 12 Natural Wonders Italy 2015

I recently had the opportunity to work with Paul Giggle on his 12 Natural Wonders 2015 Campaign in Italy.

As Paul states in the calendar "Italy has long been proclaimed as one of the world's most alluring destinations, synonymous with fashion, art, glamour and style. This iconic location provided the ultimate setting for photographer Paul Giggle's latest installment of his 12 Natural Wonders calendar art series".

The Behind-the-Scenes Video can be seen below:

Acknowledgements:
Photographer: Paul Giggle
Assistant: 
Brock McFadzean
Hair Stylist: Stefano De Barberi | Cotrilspa
Makeup Artist: Tonia Calzerano
Styling by: Joshua Scacheri | Id Couture
Models supplied by : 2morrowmodel Milan.